The Of Home Remodeling
Wiki Article
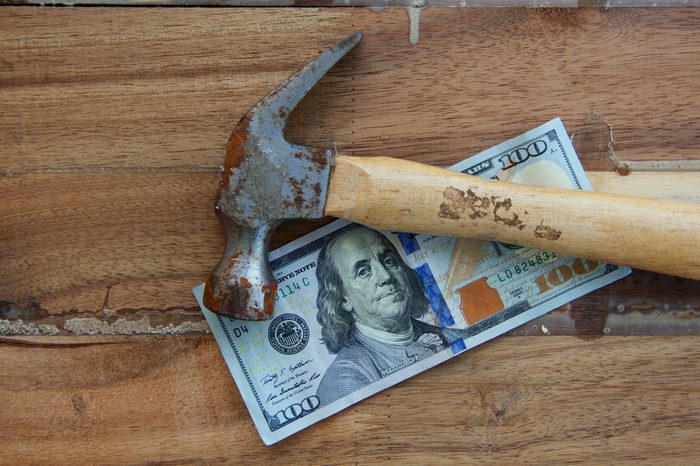
The Basic Principles Of Handyman Near Me
Table of ContentsLocal Handyman Things To Know Before You BuyThe Of The HandymanNot known Facts About Handyman Near MeThe Best Guide To Local HandymanHandyman Service - TruthsGetting The Home Remodeling To WorkHandyman Services Fundamentals ExplainedOdd Jobs Fundamentals Explained
Studs have a tendency to be set every 16 or 24 inches around the area, so as soon as you've found one you can determine the remainder. To inspect, you can sound out where the studs are: when you touch the wall, it will mostly have a somewhat hollow audio however it will certainly seem visibly denser where there's a stud.
Family Handyman for Dummies
Make use of a pencil to mark the drill openings on both the wall surface as well as the shelf; hammer or drill a pilot opening in the significant areas; then screw the L-bracket sideways or underside of the shelf and to the wall surface. For a bookcase with a back, very first procedure the case, minus its frame (so, the width of the situation's shelves), after that reduced a 1x6 piece of lumber to match.Mark their areas on the piece of lumber you cut, after that place the lumber and also drill a 2nd set of pilot openings to make sure that the openings in the lumber associate those in the walls. Then screw the board to the wall surface with screws enough time to travel through the board and drywall and also into the wall stud. handyman.
How Family Handyman can Save You Time, Stress, and Money.
Nothing mars your man-cave even more than the unsightly holes and bumps that result from transferring or eliminating your wall surface art. To keep your pad looking great, enter the practice of keeping spackle, a putty knife and paint about. Initially, tidy up any kind of loosened little bits or anything that protrudes from the opening you intend to take care of.Let it dry a few hrs, as well as if needed, apply a 2nd layer. Smooth the spackle with a fine-grade sandpaper until it's flush with the remainder of the wall, after that repaint over the damaged location. Loose or wobbly ceramic tiles are the precursors of broken tiles, making this a minor trouble worth getting dealt with prior to it obtains major.
General Contractors Near Me Can Be Fun For Everyone
Tidy the location below with alcohol, after that scratch it clean with the putty knife to get every one of the old adhesive off. Use handyman rates a new finish of tile adhesive to both the space and also to the rear of the tile and also thoroughly change the floor tile. Use a rolling pin to press the floor tile right into area and also get rid of any air click resources bubbles, then wipe clean any kind of excess adhesive on or around the tile.This one's almost fun. If you see that there's a little bit of leakage around your sink, shower or bathtub, it may be time to change the caulking that line of putty or gel at the joint where the container fulfills the wall surface or flooring. home repair. Caulking sheds effectiveness in time, so you must reseal it annually.
The Ultimate Guide To Home Remodeling
Apply a red stripe of masking tape over and listed below where you're using your caulk this will certainly offer you a clean, even-looking line. Take your tube of caulk there are countless kinds, but selecting one with silicone will offer you much better mold protection as well as lots it into the caulking gun, adhering to the instructions on the plan to reduce open the application pointer and ensuring that you pierce with any second layer of packaging inside.This ought to allow you detect the stem, which you can also get rid of, after that look for damages. Do the very same with the O-ring and washer, as one of these three aspects is likely the culprit. Replace any kind of broken components, after that reassemble the tap in the same order washing machine and O-ring, stem, packing nut, screw, manage transform the water back on, and also examine the water.
Get This Report about Handy Man
Keep revolving the serpent until the resistance passes, after that pull it out whatever's connecting up the sink will likely come out with it. Run water to guarantee that the clog has passed. If it's still blocked, then the problem likely runs deeper. Under your sink, remove the straight pipe that connects the trap to the stub pipe in the wall, either by hand or using a pipeline wrench.Wait an excellent one to 2 days before strolling or driving on the crack when you have actually repaired it, to ensure that it's completely established. 10. Change a shower head To eliminate the old shower check it out head, turn a wrench counter-clockwise to loosen its notch, then screw off the old head with your hands (handyman near me).
The Definitive Guide for Handy Man
Wrap completion of the stem pipeline with a few layers of Teflon tape, after that use your fingers to smooth the tape. Set up the replacement head, tightening it onto the pipeline clockwise by hand. Transform the shower on inspect for leaks if it's still spouting, tighten up the new shower head with a wrench, being mindful to proceed progressively to stop over-tightening.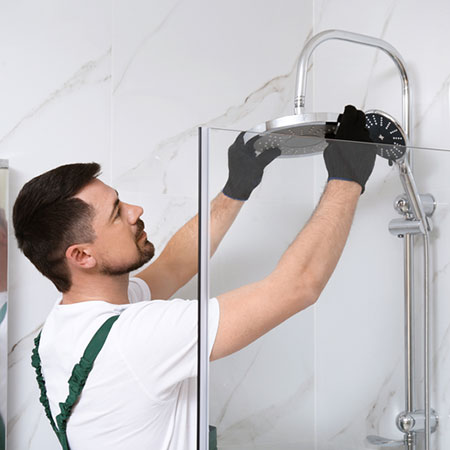
The 4-Minute Rule for Handyman Near Me
First, get up on a ladder, ensuring it's steady. You can make use of a stand-off, or ladder stabilizer, to avoid harming the gutters or home home siding. Utilize a trowel to dig out dead fallen leaves and other particles that's accumulated in the gutters, gathering it in a container or trash bag.Area the brand-new seat, straightening its support screws with the 2 openings in the bathroom base. Make certain that the seat is centered, then complete tightening the 2 nuts with a wrench.
Report this wiki page